
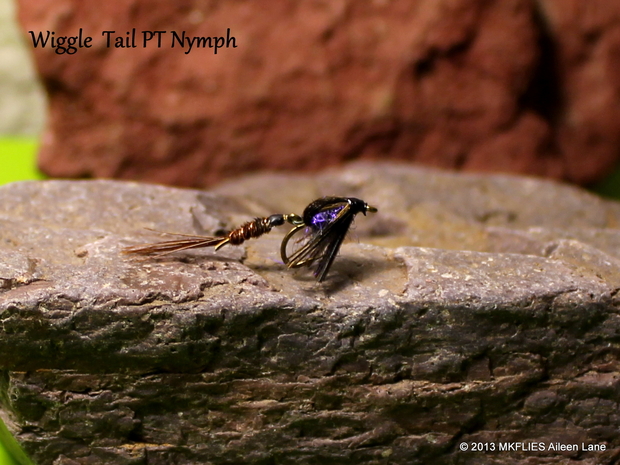
There's a reason why articulated streamers are popular – they attract fish. Why not apply the same concept to nymphs? The articulated tail imitates movement of swimming nymphs which attracts the attention of trout. Articulated nymph patterns have been around for quite sometime. Dave Whitlock wrote about the articulated damselfly nymph in the book, “The Fly Tyers Almanac” back in 1975. He found that this pattern presented a life-like action that entices fish to strike.
There are several different ways to attach the tail to the body. Since the hook bend is on the front, I felt a 15 pound mono attaching both parts would suffice. Another option would be to place the hook in the back instead of the front. If this was the case, I would use heavy wire connecting the two and securing with some glue.
Pheasant Tail nymphs should be in every fisher's fly box. They imitate a variety of nymphs and can be tied with or without a bead head. Change the color of the pheasant tail and dubbing as you like. Instead of dubbing, you can also use peacock herl.
Fish this pattern as you would any nymph pattern (drag free drift or wet fly swing in moving waters; slow retrieval with twitching in still waters).
The Recipe
HOOK: TMC 5262 ( I used the same hook for the tail. Or you can purchase commercially available extended shanks.)
THREAD: 8/0
RIB: copper wire
TAIL / BODY: pheasant tail
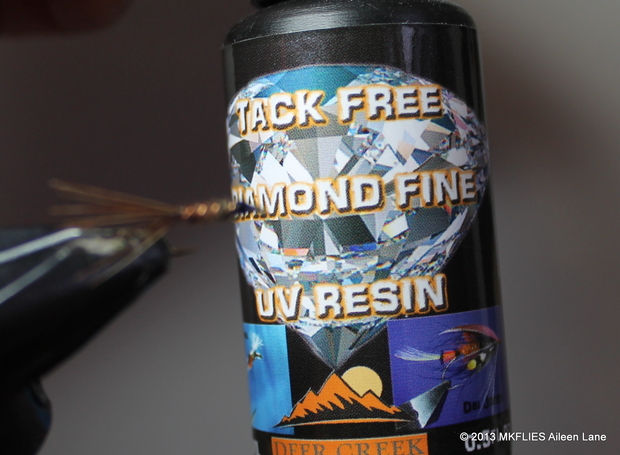
UV RESIN: Deer Creek Diamond Fine (optional, but makes a more sturdy fly)
WINGCASE: pheasant tail
THORAX: Lite-brite purple haze
LEGS: pheasant tail
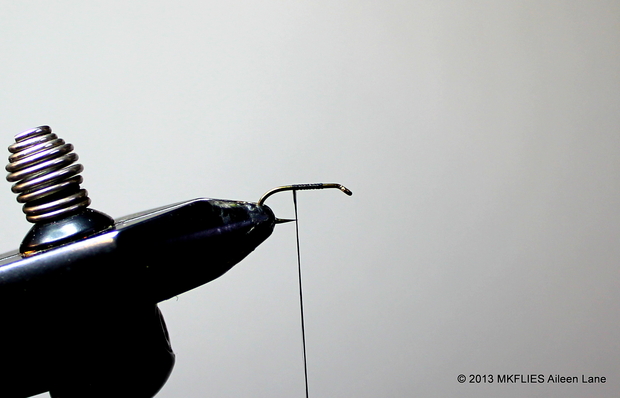
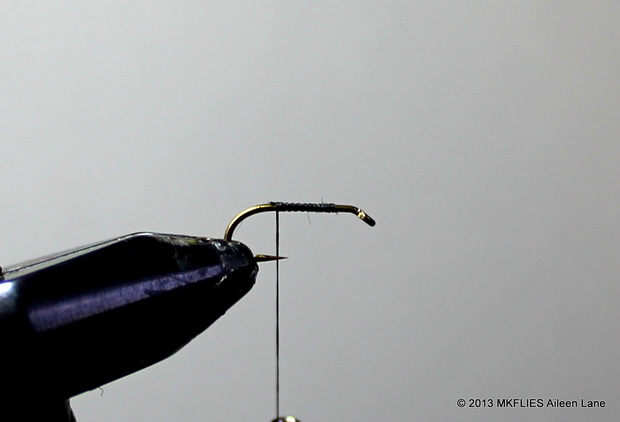
Step 1: We will tie the “wiggle tail” portion of the fly first. Wrap thread around the hook shank evenly.
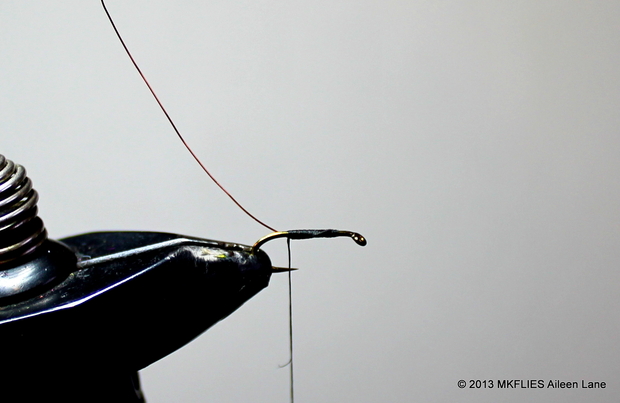
Step 2: Tie in the copper wire for the ribbing.
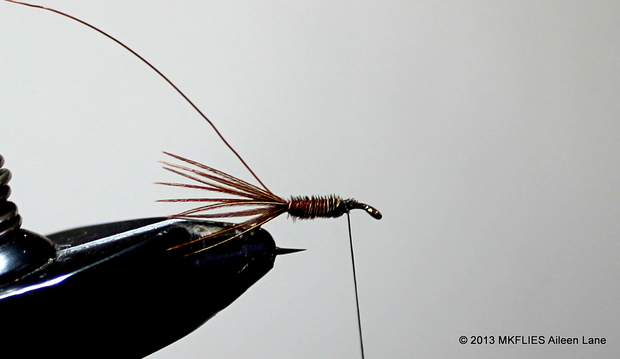
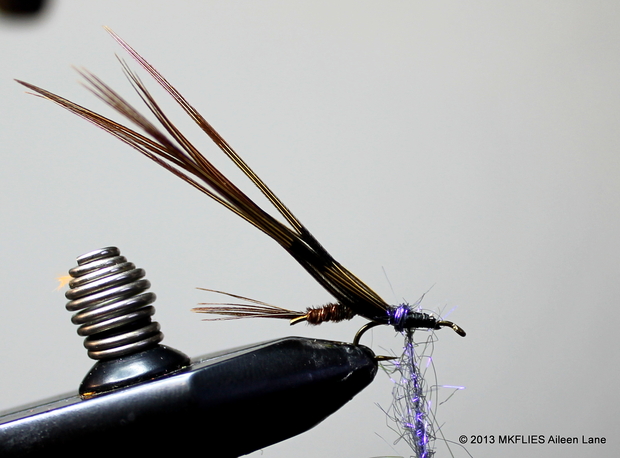
Step 3: Tie in the tail using a few fibers from pheasant tail using about 4 wraps to secure on the hook.
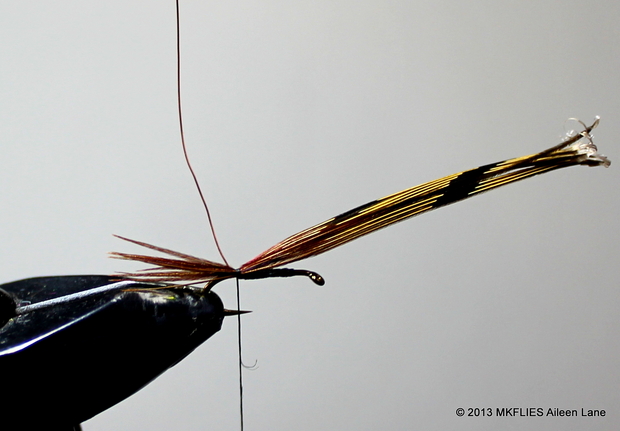
Step 4: Carefully lift up the fibers, then continue threading the thread up the hook shank toward the hook eye.

Step 5: Next, wrap the hook shank with the pheasant tail, then tie in behind the hook eye.
Step 6: Rib the tail using the copper wire. Secure the wire behind the hook eye, then whip finish.
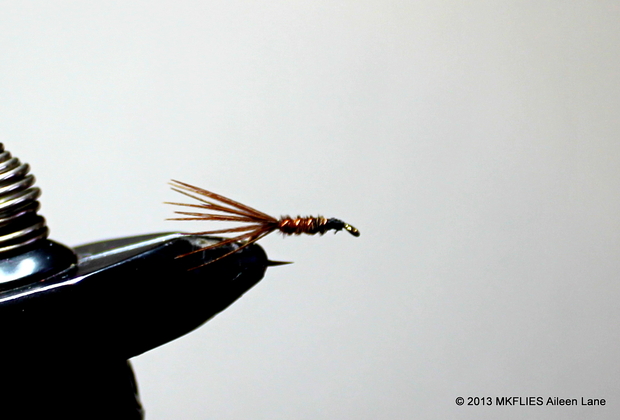
Step 7: Here I like to add a small drop of Deer Creek Diamond Fine UV Resin on the head.
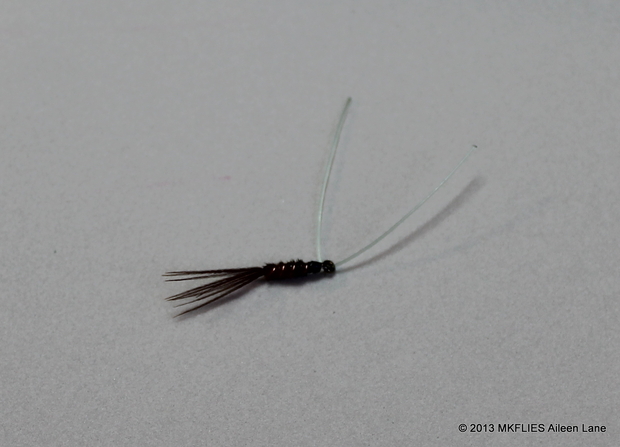
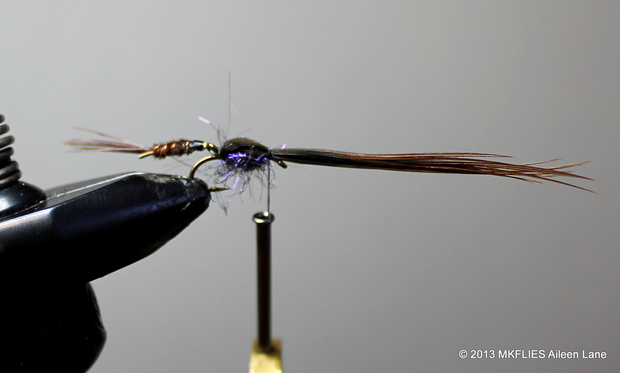
Step 8: Using wire cutters, snip off the hook at the bend.

Step 9: Thread a piece of 15 # to 20 # mono through the hook eye.
Step 10: Now we tie the front body of the fly by wrapping thread around the hook shank.
Step 11: Attach the tail portion of the fly by securing the mono on the hook. Make sure it is close to the body, yet still able to “wiggle”. After wrapping with the thread, you may secure it even more by using super glue.

Step 12: For the wing case, tie in pheasant tail. Then, add dubbing.
Step 13: When dubbing forward, be sure to leave room as to not crowd the eye of the hook.

Step 14: Bring the pheasant tail forward over the dubbing and tie in behind the eye of the hook bringing the extra feathers down and back.
Step 15: After whip finishing, secure with small drop of UV resin to secure the fly.
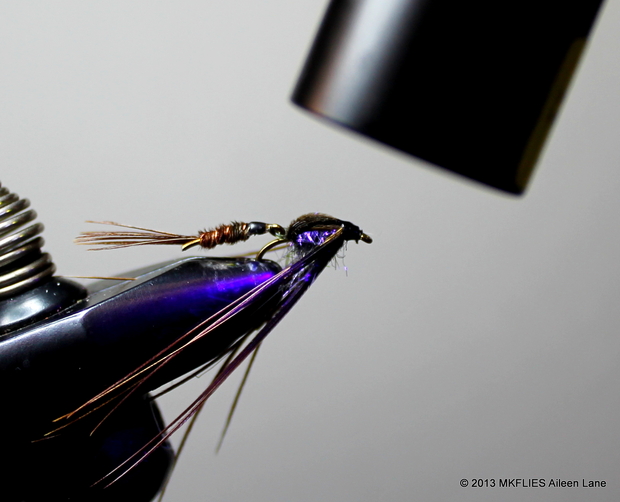
Step 16: Trim the fibers for the legs.
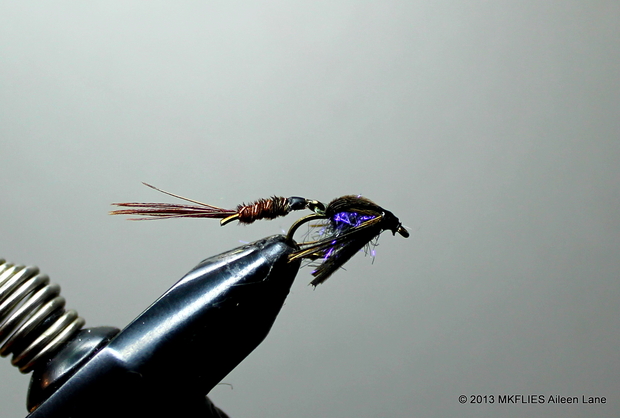
The finished product.

.")


.")


.")
 of water were released by the failure of the Teton Dam (photo: waterarchives.org).")

.")


.")


.")
.")

Comments
Brian Schiele replied on Permalink
I think this is a great fly! I can't wait to tie some up for mine boxes!
Aileen is a great fly tyer for sure!
Brian
Aileen Lane replied on Permalink
I'm looking forward to seeing your ties, Brian!
Ryan Russell replied on Permalink
Cool Bug! Great Idea! I think this would destroy in some of my favorite nymphing spots. Purple is an underrated color and I have done great with that color. I would totally fish this. Who cares if it's "ugly"? What an ignorant statement. I personally have never seen a fish go into a fly shop and buy a fly... have you?I've seen a monster Bow take a horribly tied Prince with thread and biot hanging off. Probably because it had some movement to it! I'm fairly certain a seasoned tyer could tie you something "pretty". This fly is a down and dirty nasty nymph that actually has a little movement to it. I think it's awesome and shows that some people out there are actually thinking outside the box. Great fly. Keep it up. - Gingersnap
Aileen Lane replied on Permalink
I want to check out your secret nymphing spot, Ryan. Can you map that for me ??? LOL Thanks!!
wes replied on Permalink
MKFlies makes beautifully crafted flies that not only look amazing but fish amazing to! This pattern is one I have wanted to try since I saw the first pictures on Facebook and now with the step by step process I will surely be tying this one myself! Awesome looking fly!
Aileen Lane replied on Permalink
I appreciate you checking out this post and my FB page, too!
Howard Levett replied on Permalink
Who cares if someone thinks the fly is ugly? No doubt it will catch a lot of fish because it's buggy looking. Love the color and action of this one.
Aileen Lane replied on Permalink
I love buggie looking flies, Howard. =) Thank you!!
Chad Shmukler replied on Permalink
Agreed. There's that old saying: "pretty flies catch fishermen, not fish".
In my experience, there seems to be a direct correlation to how beat up my fly gets (and thus how ugly it gets) and how many fish it catches. Hint: more.
Jeff Peacock replied on Permalink
This is a beautifully tied fly with some thoughtful modifications. I have had great luck with purple as it seems to be highly visible to trout. The articulated tail adds a motion that many days will out fish any other fly I've seen.Keep up the excellent work. :-)
Aileen Lane replied on Permalink
Thank you, Jeff! I agree, shades of violet seems to be more visible!
Anonymous replied on Permalink
Sorry, the "ugly and is this a joke?" Comment was on the Hatch FB page. Either way I think this fly is awesome, in a very good way :)
Aileen Lane replied on Permalink
Thank you so much!
Aileen Lane replied on Permalink
Thank you all for checking out my fly recipe. Yes, this is a very effective pattern! Hope you all try tying some up for yourselves! =)
Pages